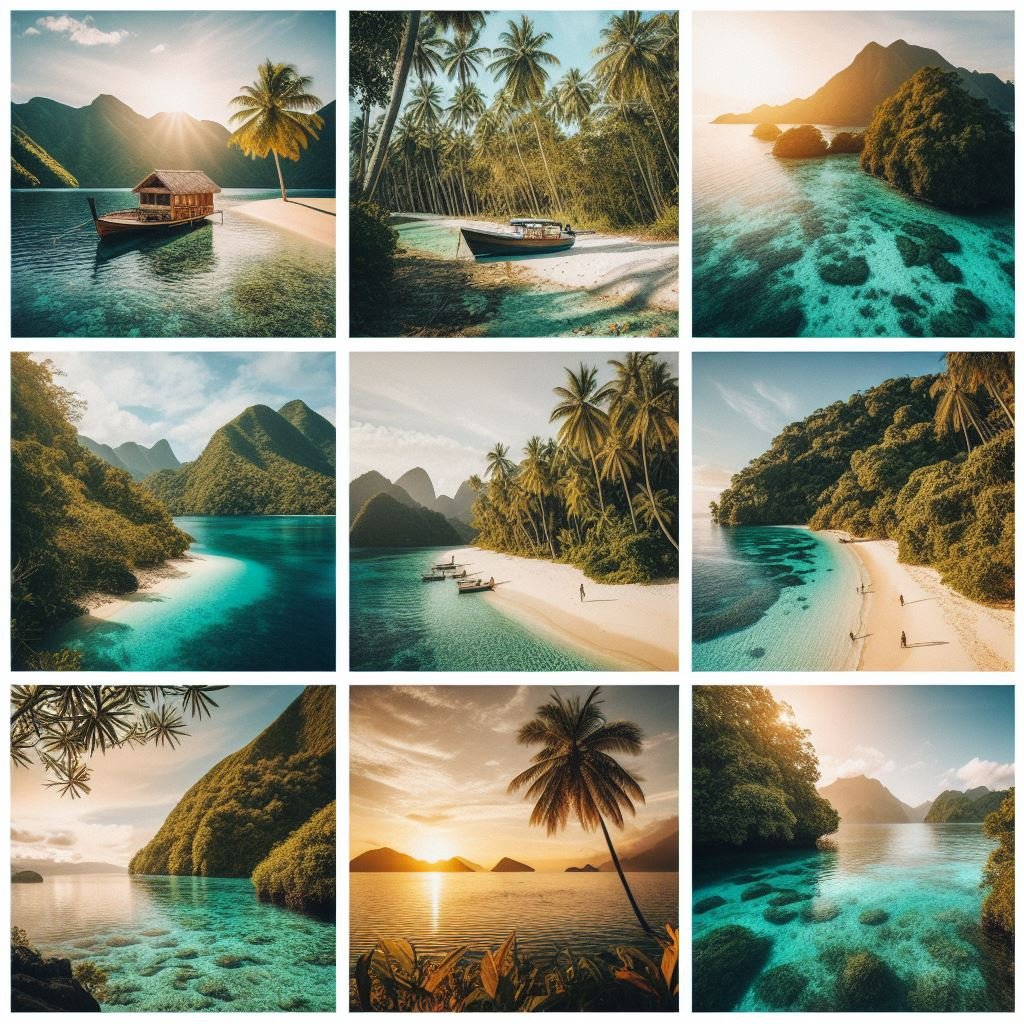
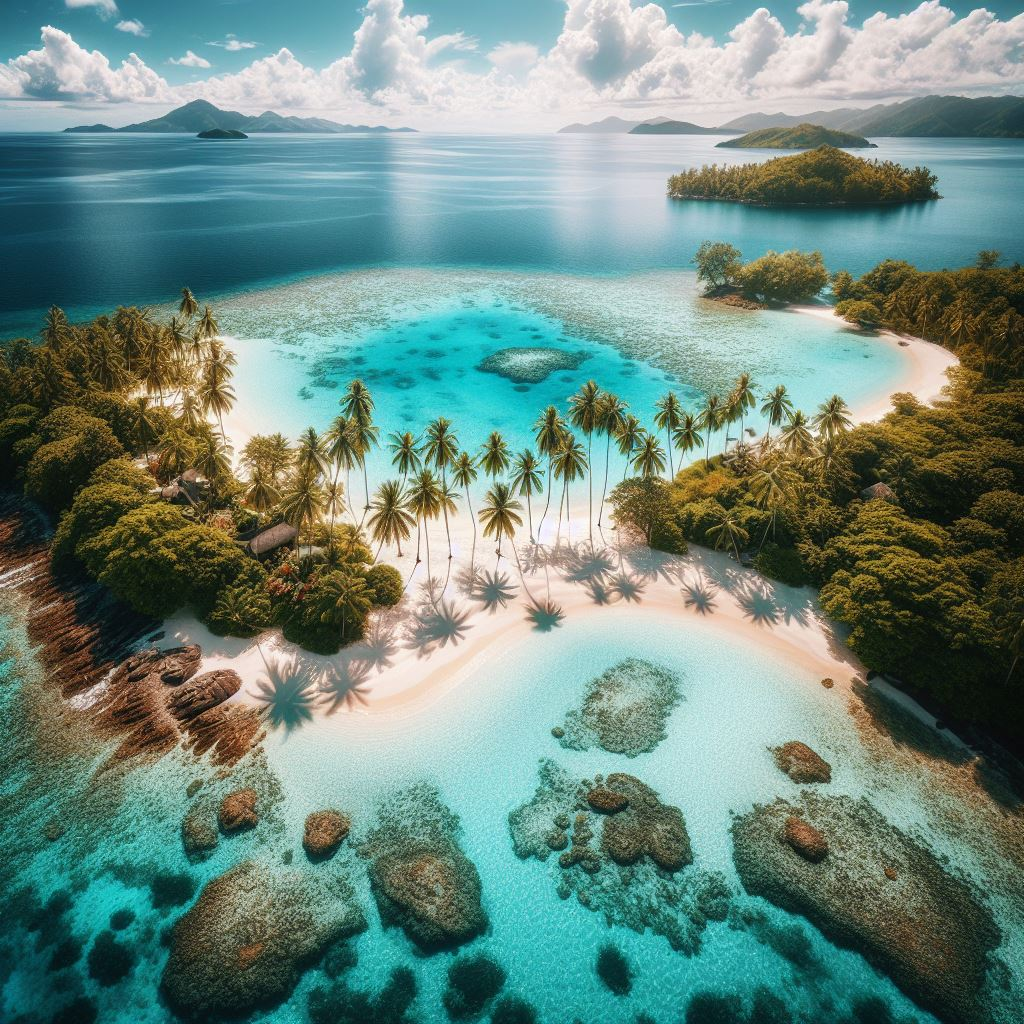
Islands possess a unique allure. They embody vibrant colors, whispers of ancient cultures, and the endless dance of the sea meeting the shore. It’s no wonder capturing their beauty through photography has become an irresistible pursuit. Whether you’re a seasoned photographer or just starting out with a camera, there’s something extraordinary about preserving the essence of an island paradise. In this comprehensive guide, we’ll dive into photography tips for capturing island beauty — unveiling techniques to bring those swaying palms, glistening waters, and hidden coves into your stunning collection of photographs.

Gear Considerations for Island Photography
Choosing the right gear for your hidden islands adventure is essential to maximize your photographic opportunities. Let’s break down what you might want to pack:
Camera:
While smartphones are incredibly capable, DSLRs or mirrorless cameras provide more manual control and image quality. They allow you to fine-tune settings, adapt to changing light, and capture finer details that make island photographs shine.
DSLRs or mirrorless cameras offer several advantages:
- Larger sensors: Capture greater detail and dynamic range, especially in low-light
- Interchangeable lenses: Adapt to the variety of island scenes.
- Manual controls: Fine-tune exposure settings, focus, and creative effects.
Lenses:
A wide-angle lens is a must-have for breathtaking landscapes and sweeping ocean vistas. A telephoto zoom lets you isolate distant wildlife or compress perspective for creative shots. A macro lens opens up the world of textures – think close-ups of seashells, vibrant flowers, or intricate patterns in the sand. The following lenses are preferred more for unique photography.
- Wide-angle (16-35mm): Captures expansive beaches, dramatic skies, and tight village streets.
- Telephoto Zoom (70-200mm or longer): Reach distant wildlife, isolate details like crashing waves or volcanic peaks, and compress perspective for unique shots.
- Macro: Reveal miniature worlds of seashells, intricate flowers, and textures in the sand.
Filters:
The following filters are widely used.
- Polarizing filter: Reduces water reflections, boosts blue skies, and cuts glare on foliage. Rotate the filter to see the effect change. It enhances the vibrancy of the skies.
- Neutral density (ND) filters: Neutral density (ND) filters slow your shutter speed. Come in varying strengths to block light, allowing long exposures. Capture silky waterfalls and blurred ocean motion, or remove crowds from a bustling scene.
- UV filter: Provides essential lens protection against sea spray, dust, and scratches.
Tripod:
Invest in a sturdy tripod for low-light conditions, long exposure shots like blurred waterfalls or milky starlight, and sharp self-portraits when traveling solo. A travel tripod is used for a lightweight yet sturdy carbon fiber model. Longer lenses are essential for sharp, low-light shots, intentional long exposures, self-portraits, and stability.
Other Accessories:
- Waterproof housing: Explore vibrant reefs and underwater life.
- Batteries & memory cards: Tropical heat can drain batteries faster, so pack spares.
- Lens cleaning cloth: Remove salt spray and smudges.
- Lightweight reflector: Adds fill light to portraits or detailed subjects.
Gear is just a tool. It’s about honing your eye for composition, light, and the unique essence of island life.
Capturing the Essence of Island Light
Islands offer a dynamic interplay of light that can transform your photographs. Here’s how to make the most of the ever-changing conditions:
Golden Hour:
The coveted hour after sunrise and before sunset bathes islands in a warm, ethereal glow. Look for soft shadows, richer colors, and textured landscapes. Experiment with silhouettes against the fiery sky or capture sunbeams filtering through palm leaves.

Midday Light:
While the harsh overhead sun can be challenging, you can work with it. Look for pockets of open shade provided by trees or structures. Use a diffuser to soften shadows on portraits. Seek exciting patterns and textures, or embrace the high-contrast look for striking results.
Overcast Light:
Soft, diffused light creates a unique mood. Embrace the even tones to capture island details like colorful architecture or lush foliage. This light is also excellent for black-and-white conversions, emphasizing mood and texture.
Night Photography:
Islands far from light pollution offer stunning starry skies. Use a tripod, a wide aperture, and a more prolonged exposure to capture the Milky Way. Experiment with light painting, using a flashlight to illuminate foreground elements or create unique patterns.
Study the direction of light at different times of the day. Scout potential photo spots throughout the day, noting how the sunlight interacts with the landscape.
Composing Island Shots Like a Pro
While gear and light are essential, strong composition elevates your island photos from snapshots to art. Here are some powerful techniques:
Rule of Thirds:
Imagine dividing your camera frame (or the viewfinder) into a tic-tac-toe grid with two horizontal and two vertical lines, creating nine equal squares. Your photo’s critical points of interest should be placed along these lines or at the intersections where the lines meet.
This technique helps create a more balanced and visually pleasing composition than simply placing your subject in the dead center of the frame. By placing your subject off-center, you develop a sense of tension and guide the viewer’s eye around the image.
- Placement: Position your main subject along a vertical line or on one of the four intersections.
- Balance: Use the negative space (empty areas) to complement your subject.
- Leading Lines: Natural elements like rivers, paths, or shorelines can also lead the viewer’s eye to an intersection point.
Leading Lines:
Use natural elements like shorelines, winding paths, or rows of coconut trees to guide the viewer’s eye through your images. This adds depth and draws the viewer into the scene.
Framing:
Use natural arches, doorways, hanging vines, or leaves to frame your subject. This creates a sense of focus and adds intrigue.
Foreground Interest:
Include rocks, tide pools, a washed-up shell, or textured sand in the foreground. This gives your image a sense of place, scale, and additional dimension.
Changing Perspectives:
Don’t just stand and shoot. Climb a viewpoint for a panoramic vista, crouch for a low angle, highlight a flower, or even shoot from the waterline for a unique perspective.
Exploring Unique Perspectives
Think beyond standard eye-level shots to truly elevate your island photography:
Aerial Photography: Drones and Helicopters for Bird’s Eye Views
Drones:
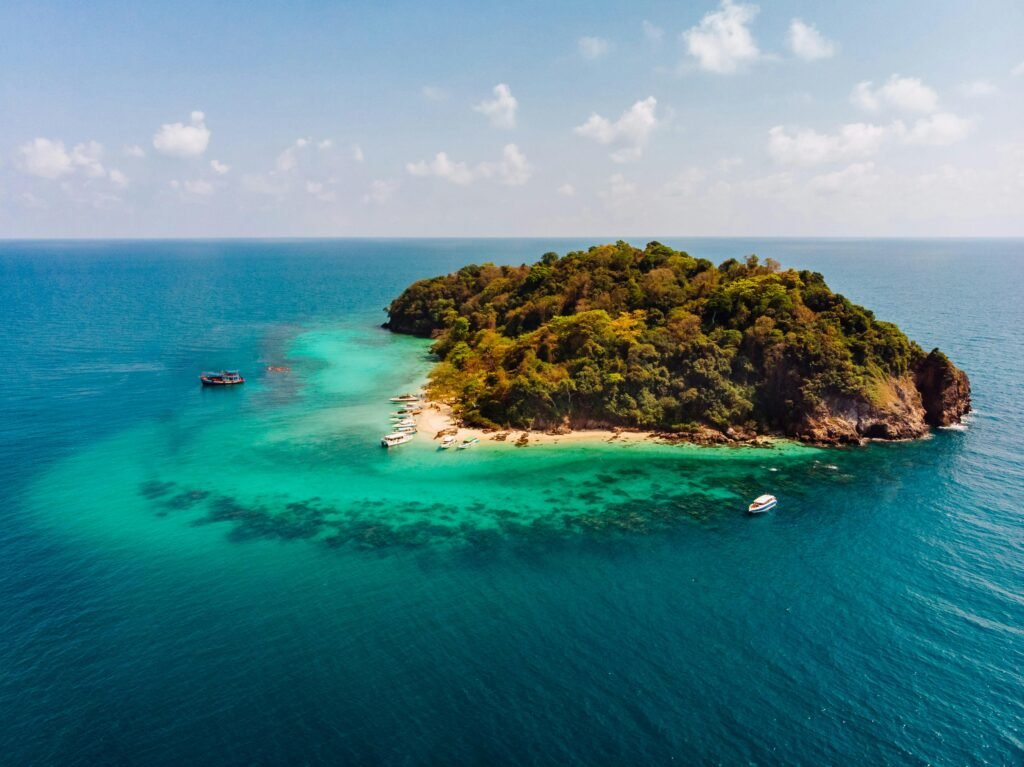
When used responsibly and within local regulations, drones offer unparalleled views of coastal landscapes, hidden coves, and dramatic volcanic formations. Look for interesting patterns, leading lines, and the interplay of land and sea.
Helicopter Tours:
While more expensive, helicopter tours provide a thrilling opportunity for aerial photography without drone experience. Ensure you have a window seat and communicate with the pilot if you need them to circle or hover for a particular shot.
Underwater Adventures: Capturing the Beauty Beneath the Surface
Waterproof Housing:
Invest in a housing compatible with your camera for snorkeling or shallow dives. Experiment with split-level shots of the surface and vibrant coral reefs teeming with life.
Specialized Underwater Gear:
If you’re serious about underwater photography, consider dedicated underwater cameras and lighting setups to explore the depths and capture mesmerizing marine creatures.
Important Considerations:
- Regulations: Always check local drone regulations and restrictions in specific areas. Many national parks and protected zones have bans in place.
- Safety: When venturing underwater, consider currents, waves, and marine life. Never dive alone, and prioritize your safety above getting the shot.
- Environmental Impact: Leave no trace, both on land and underwater. Avoid disturbing fragile ecosystems and support sustainable tourism practices.

Focusing on Specific Island Features
Research the island’s unique features to plan your shots and respect local guidelines beforehand. Islands are filled with diverse treasures, each begging to be captured through your lens. Let’s explore some specific features:
Beaches:
- Vastness: Use a wide-angle lens and the rule of thirds to emphasize the expanse of sand and sea.
- Textures: Focus on the patterns in the sand, tide pools reflecting the sky, or the intricate details of driftwood.
- Wave Patterns: Experiment with slow shutter speeds for dreamy, blurred wave motion or freeze the action to capture the power of crashing waves.
Waterfalls:
- Silky Smoothness: Use a tripod and an ND filter for long exposures, turning rushing water into a beautiful blur.
- Freezing Motion: Capture the texture and droplets of water in motion with a faster shutter speed.
Wildlife:
- Ethics: Give animals space, don’t disturb their habitat, and follow local regulations.
- Telephoto Lens: A telephoto zoom is essential for getting close-up shots without intruding.
- Patience: Observe animal behavior to anticipate those perfect moments.
Local Culture:
- Respect: Ask permission before photographing people.
- Markets: Capture the vibrant colors of fresh produce and local crafts.
- Architecture: Photograph distinctive buildings, temples, or traditional homes.
- People and Traditions: Document daily island life or cultural events.
Editing Your Island Photos
Editing software helps you refine your images, bringing out their full potential and infusing them with your artistic vision. Here’s what to keep in mind:
Software:
Popular options include:
- Adobe Lightroom & Photoshop: Industry standards for a comprehensive editing suite.
- Capture One: Known for excellent color rendition.
- Skylum Luminar AI: Offers powerful AI-powered editing tools for beginners.
- complimentary Options: GIMP, Snapseed (mobile), and many more.
Basic Adjustments:
- Exposure: Adjust brightness and contrast for overall impact.
- White Balance: Correct for overly warm or cool tones, ensuring accurate colors.
- Color Vibrancy: Boost the saturation of blues, greens, and sunsets for a tropical feel.
- Shadows & Highlights: Recover details from blown-out skies or overly dark areas.
Localized Adjustments:
- Graduated Filters: Darken overexposed skies or brighten shadowed foregrounds.
- Radial Filters: Create vignettes or draw attention to specific elements.
- Adjustment Brushes: Selectively enhance the image’s eyes, textures, or portions.
Creative Edits:
- Black and White: Explore the beauty and mood of monochrome conversions.
- Artistic Filters: Experiment with stylized looks to add unique character.
Editing is subjective. Find a style that speaks to you and refine it with practice.
Additional Island Photography Tips
- Respect the Environment:
Practice the principles of “Leave No Trace”. Pack out all trash, minimize your impact on delicate ecosystems, and support environmentally conscious businesses.
- Waterproof gear:
Invest in waterproof bags, dry sacks, or a simple rain cover. Tropical weather can be unpredictable, so protect your equipment.
- Experiment:
Break from conventional shots. Play with long exposures for abstract water effects, use reflections in tide pools, or try multiple exposures for artistic results.
- Tell a Story:
Island photography isn’t just about beautiful landscapes. Capture the rhythm of daily life: fishermen hauling in nets, bustling markets, or the vibrant details of local architecture.
Conclusion
Island photography is an invitation to capture fleeting beauty: the fiery glow of a tropical sunset, a hidden waterfall shrouded in mist, or the joyful smile of a local child. By understanding light, composition, and the unique elements of island life, you’ll transform your travels into stunning photographs that preserve the essence of paradise.
FAQs
Q: What time of day is perfect for island photography?
A: The golden hours around sunrise and sunset offer the most flattering light. However, midday and overcast conditions provide unique opportunities. Experiment with different times to capture varied moods.
Q: Can I take good island photos with my phone?
A: Absolutely! Modern smartphones have impressive cameras. Learn to use the native camera app’s features and a few essential editing apps. A tripod for stability and lenses that attach to your phone will further elevate your mobile photography.
Q: Do I need a lot of expensive gear for island photography?
A: While specialized gear is helpful, focus on mastering the basics of light and composition. A good starter camera, a versatile lens, and a tripod will take you a long way.
Q: How do I protect my camera gear on an island trip?
A: Invest in a waterproof camera bag or backpack. Use sand-resistant lens cloths and clean gear regularly to combat salt spray and moisture.
Q: Is it okay to use filters in island photography?
A: Yes! Polarizing filters help reduce glare and enhance colors, while ND filters allow for creative long-exposure effects. Experiment to find what works for you.


